Gluten-Free Puff Pastry Recipe
Introduction
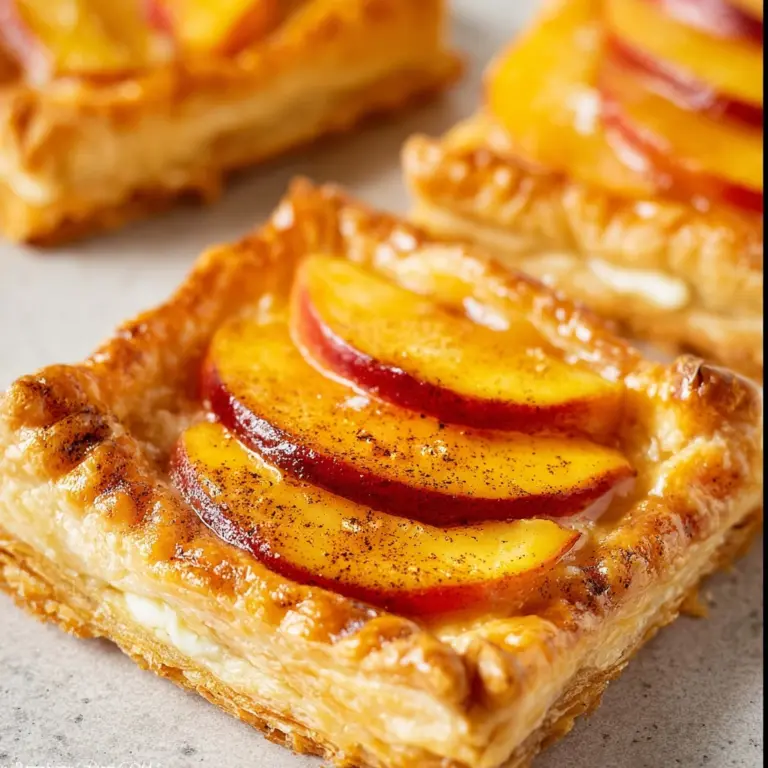
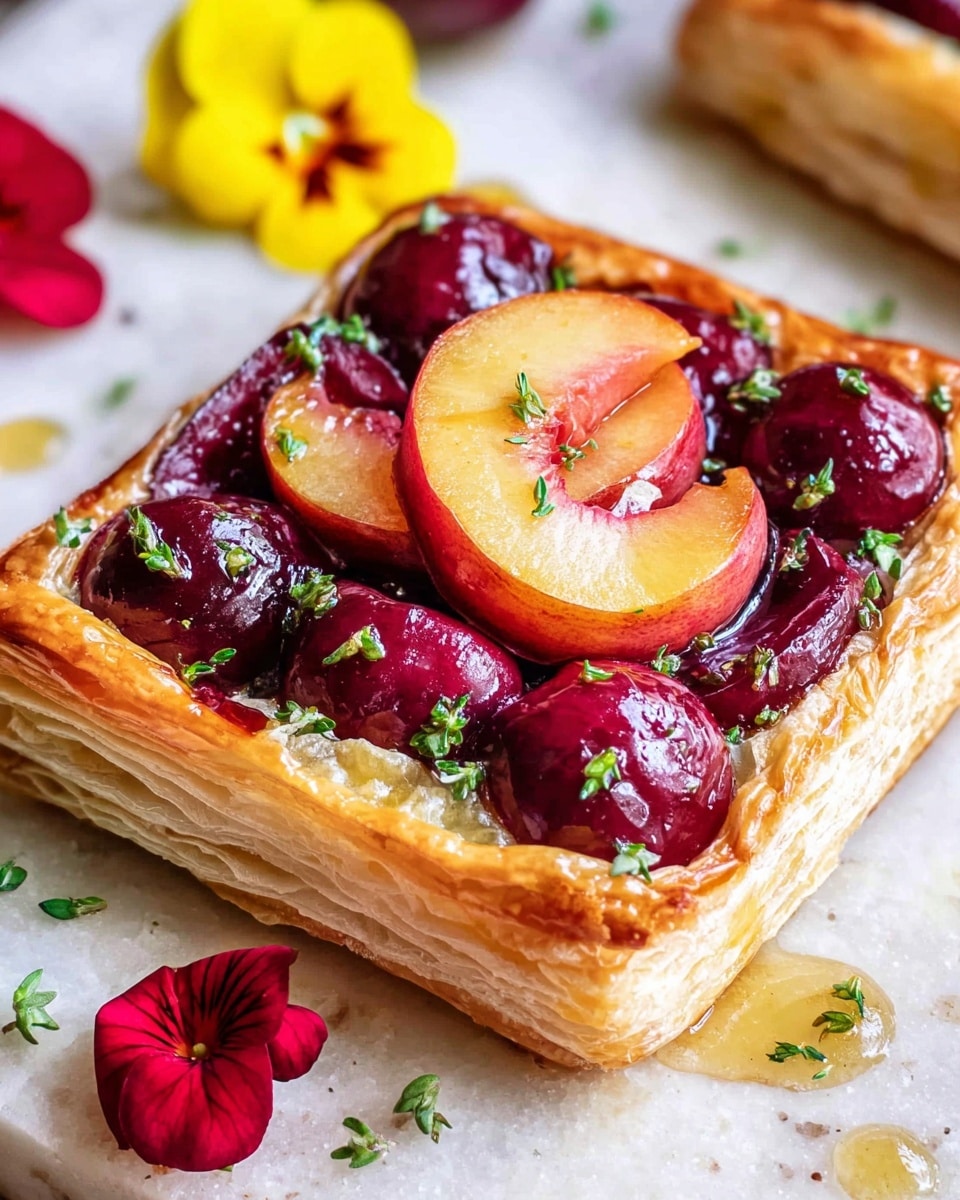
Gluten-free puff pastry is a flaky, buttery dough perfect for both sweet and savory dishes. This recipe guides you through making tender layers without gluten, ensuring a delicious and versatile pastry for home baking.
Ingredients
- 1 ⅓ cups gluten-free flour
- 3/4 tsp salt
- 5.3 oz cold sour cream
- 3 to 5 Tbsp ice cold water
- ⅓ cup butter
- Additional gluten-free flour for rolling the dough
Instructions
- Step 1: In a large mixing bowl, stir together the gluten-free flour and salt. Add the sour cream and 3 tablespoons of ice cold water, then mix until the dough comes together. It should hold well but not be sticky; add more water if crumbly or more flour if too wet.
- Step 2: Wrap the dough in foil and refrigerate while preparing the butter packet.
- Step 3: Beat the butter with a rolling pin into an even, firm square. Keep it cold but not hard; refrigerate if it softens too much.
- Step 4: Flour your rolling surface well. Remove the dough from the fridge, unwrap it, and place it on the surface. Roll out flaps from all four sides, leaving a thick 4″x4″ square in the center.
- Step 5: Place the butter square onto the center of the dough. Make sure butter and dough are similar in size.
- Step 6: Fold the dough flaps over the butter one at a time, sealing it completely like an envelope. Press firmly to avoid any butter escaping.
- Step 7: Generously flour the rolling surface and rolling pin. Roll the dough out into a long rectangle about ½ inch thick and three times as long as it is wide.
- Step 8: Perform a single fold by folding one end of the dough one-third over, then folding the other end over that, like folding a letter.
- Step 9: Mark the dough with a knuckle to indicate one completed turn. Cover with plastic wrap and refrigerate until firm, about 15 minutes.
- Step 10: Repeat the rolling and folding process, marking the dough twice after the second turn. Chill between turns. Continue for at least 4 and up to 6 turns total.
- Step 11: Once done, wrap the dough tightly in plastic wrap and refrigerate or freeze. If frozen, defrost overnight in the refrigerator before use.
- Step 12: Bake your pastry at 400°F (200°C) or higher, following your specific recipe’s baking instructions for time and preparation.
Tips & Variations
- Keep all ingredients and surfaces well-chilled to achieve the best flaky layers.
- For added flavor, try substituting some of the butter with flavored butter or add herbs.
- If the dough becomes too soft during rolling, refrigerate it for 10-15 minutes before proceeding.
- Use a gluten-free flour blend designed for baking to improve texture and handling.
Storage
Store unused dough tightly wrapped in plastic wrap in the refrigerator for up to 3 days. For longer storage, freeze the dough for up to 2 months. Thaw frozen dough overnight in the refrigerator before rolling and using. Bake pastries immediately after shaping for best results.
How to Serve
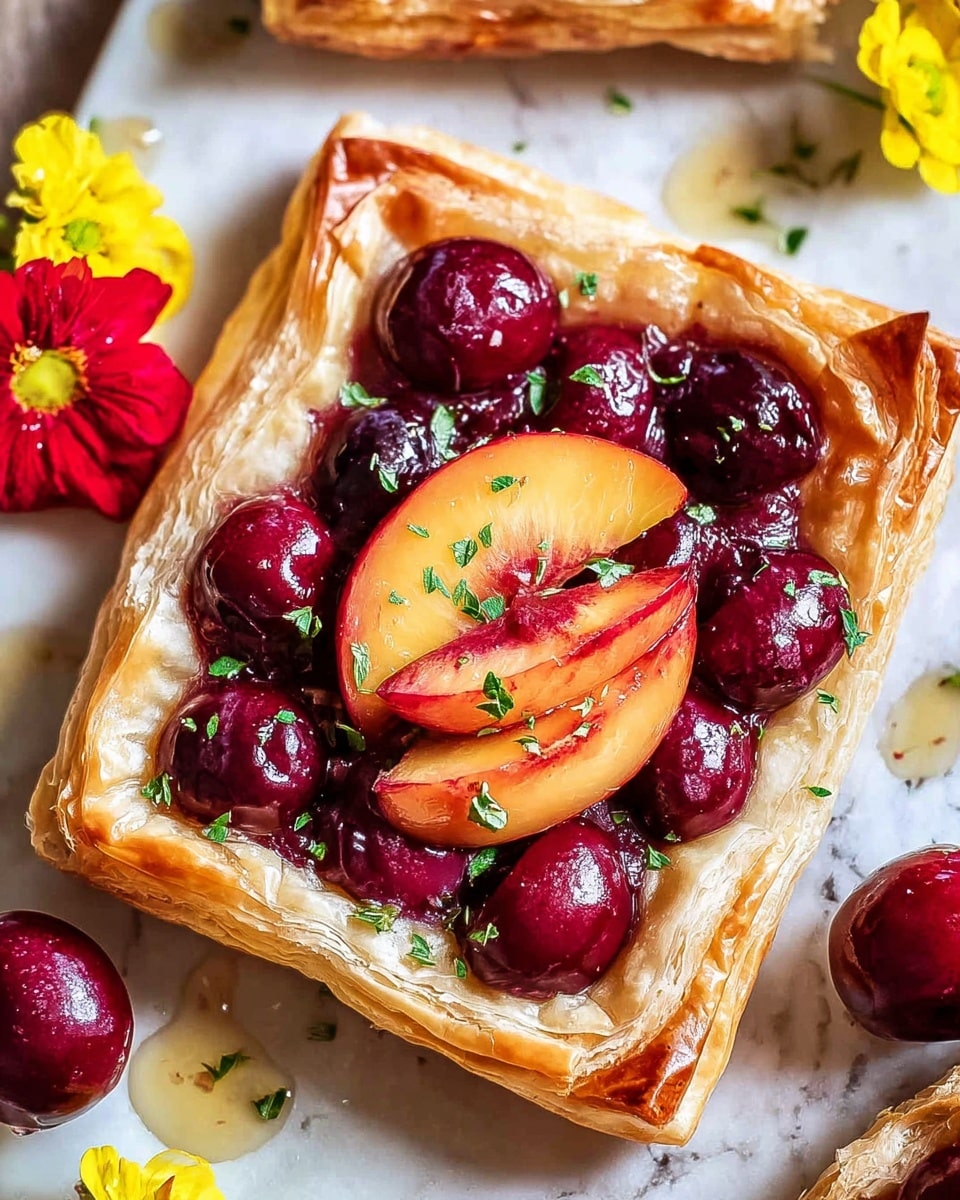
Serve this delicious recipe with your favorite sides.
FAQs
Can I use regular sour cream instead of cold sour cream?
It’s best to use sour cream straight from the fridge; the cold temperature helps keep the dough firm and easier to handle.
How do I know if my dough has enough water?
The dough should hold together well without being sticky or crumbly. Start with 3 tablespoons of ice cold water and add more only if necessary, a teaspoon at a time, until the right consistency is reached.
PrintGluten-Free Puff Pastry Recipe
This gluten-free puff pastry recipe offers a flaky, buttery alternative to traditional puff pastry, perfect for those avoiding gluten. Made with gluten-free flour, sour cream, butter, and ice-cold water, the dough is carefully layered with butter and folded multiple times to create delicate, crispy layers when baked. Ideal for both sweet and savory pastries.
- Prep Time: 30 minutes
- Cook Time: 15 minutes (varies with filling and use)
- Total Time: 1 hour 30 minutes (including chilling and turns)
- Yield: Approximately 1 sheet of gluten-free puff pastry suitable for multiple pastries 1x
- Category: Pastry Dough
- Method: Stovetop
- Cuisine: Gluten-Free
- Diet: Gluten Free
Ingredients
Dough Ingredients
- 1 ⅓ cups gluten-free flour
- 3/4 tsp salt
- 5.3 oz sour cream (cold)
- 3 to 5 Tbsp ice cold water
Butter Packet
- ⅓ cup butter
- Additional gluten-free flour for rolling the dough
Instructions
- Make the dough: In a large mixing bowl, stir together gluten-free flour and salt. Add the sour cream and 3 tablespoons of ice cold water, stirring until the mixture forms a cohesive dough. The dough should hold together well but not be sticky; if too crumbly, add more water, or if too wet, add more flour.
- Refrigerate dough: Wrap the dough tightly in foil and place it in the refrigerator to chill while preparing the butter packet.
- Prepare the butter packet: Using a rolling pin, gently beat the butter into a uniformly thick square. Keep the butter cold and firm but not hard, refrigerating if it softens.
- Roll out the dough: Flour your rolling surface generously with gluten-free flour. Remove dough from the fridge and unwrap. Place it on the surface and roll out flaps from each of the four sides, leaving a central 4×4 inch square of thicker dough.
- Encase the butter: Remove the butter packet from any plastic wrap and place it on the thick center of the dough. It should be roughly the same size as the dough’s central square.
- Fold dough over butter: Fold the flaps of dough over the butter one at a time, creating an envelope. Press edges firmly to seal, ensuring no butter peeks through.
- Roll out for first turn: Flour the rolling surface and rolling pin. Roll the dough into a long rectangle about 1/2 inch thick and three times as long as it is wide.
- Perform first fold: Use the single fold method by folding one end of the dough about a third of the way, then fold the opposite end over it like a letter.
- Mark and chill: Mark the dough with a single knuckle impression to indicate one turn. Wrap in plastic and refrigerate for about 15 minutes until firm.
- Roll and fold subsequent turns: Remove dough, flour the outside, and roll into a 1/2 inch thick rectangle. Fold again once (single fold). Mark with two knuckle impressions for two completed turns. Refrigerate until firm.
- Repeat turns: Continue rolling, folding, marking, and chilling for at least 4 turns, up to 6 turns, to develop flaky layers.
- Storage: Once finished, wrap the dough tightly in plastic wrap and refrigerate or freeze. If frozen, defrost overnight in the refrigerator before use.
- Bake: Bake the prepared pastry at 400°F (200°C) or higher to achieve flaky, golden layers.
Notes
- Keep all ingredients, especially butter and water, very cold to ensure flakiness.
- Use gluten-free flour blends suitable for pastry for best texture.
- Handling the dough gently prevents the butter from melting into the flour prematurely.
- The single fold method creates distinct layers but can be adapted with double folds if desired.
- Multiple turns increase flakiness but can be time-consuming; ensure dough is well chilled between folds.
- Store dough properly to prevent it from drying out or absorbing fridge odors.
Keywords: gluten-free puff pastry, puff pastry dough, gluten-free baking, flaky pastry dough, sour cream pastry


