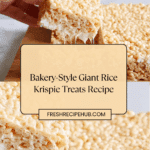
Bakery Style Giant Rice Krispie Treats Recipe
If you’ve ever dreamed of that perfect nostalgic snack elevated to an extraordinary level, then you’re going to absolutely love these Bakery Style Giant Rice Krispie Treats. Imagine that classic crispy, chewy combination but multiplied by size and flavor, thanks to browned butter and a fudge-like touch from sweetened condensed milk. This recipe isn’t just about making a quick treat—it’s about indulging in a buttery, toasty, and gooey experience that brings the fun of childhood Rice Krispie Treats right into your kitchen with a bakery twist that’s simply irresistible.
Ingredients You’ll Need
The magic of Bakery Style Giant Rice Krispie Treats lies in a short list of simple, high-impact ingredients. Each one plays a vital role: the butter creates richness enhanced by a beautiful nutty flavor when browned, the condensed milk adds sweetness and a soft chew, and the marshmallows bring meltiness and delightful texture. With just these, plus the iconic Rice Krispies cereal, you’ll be well on your way to your own giant batch of happiness.
- 12 tablespoons butter: Browned for a nutty, deep flavor that takes these treats beyond the ordinary.
- ¾ cup sweetened condensed milk: Adds creamy sweetness and a chewy texture that’s mouthwatering.
- 1 ½ teaspoon vanilla extract: A subtle but essential note that rounds out the flavors beautifully.
- 10 ounces mini marshmallows (for melting): The glue that creates a smooth, luscious marshmallow base.
- 6 ounces mini marshmallows (unmelted): Added at the end for bursts of gooey texture throughout the treats.
- 9 cups Rice Krispies cereal: The crispy heart of the treat, providing that satisfying crunch.
How to Make Bakery Style Giant Rice Krispie Treats
Step 1: Brown the Butter to Unlock Flavor
Begin by browning your butter in a pan or Dutch oven over medium heat. Stir it frequently as it melts to avoid burning, and watch carefully as it turns a deep golden amber. This step is the flavor hero of the whole recipe—your kitchen will fill with a rich, nutty aroma that signals you’re onto something special. The little browned bits in the butter are a sign of success and will contribute amazing depth.
Step 2: Combine Condensed Milk and Vanilla
Once the butter is perfectly browned, reduce your heat to medium-low and stir in the sweetened condensed milk and vanilla extract. This mixture sets the stage for the chewy, sweet base that binds everything together. Mixing these now ensures the vanilla infuses into every bite and the condensed milk melts into the butter for that signature soft chew.
Step 3: Melt the First Portion of Mini Marshmallows
Add 10 ounces of mini marshmallows to the buttery, milky mix and stir continuously until everything is melted and forms a smooth, sticky mixture. This gooey base is the key to binding the Rice Krispies together perfectly, so patience here makes all the difference. You want a velvety blend that coats each cereal flake beautifully.
Step 4: Fold in the Rice Krispies Cereal
Carefully add the 9 cups of Rice Krispies cereal into the melted marshmallow mixture. Use a sturdy spatula to fold them gently but thoroughly until every cereal piece is coated. If your pan feels too crowded, it’s perfectly fine to transfer the mixture to a large mixing bowl to combine—just be sure to work quickly so the marshmallow mix doesn’t harden.
Step 5: Include the Unmelted Marshmallows
Here comes a fun twist—fold in the remaining 6 ounces of mini marshmallows that you want to stay intact. These give your Bakery Style Giant Rice Krispie Treats extra chew and a playful texture contrast. Make sure the mixture has cooled slightly so these marshmallows won’t melt, adding those lovely little cloud-like pockets throughout.
Step 6: Press and Smooth into Your Pan
Butter a 9×13-inch dish and carefully pour your sticky Rice Krispie mixture into it. To get that perfectly flat and even top you’d see in a bakery display, place a piece of parchment paper over the surface and gently press it down and smooth out the treats. This method keeps your hands clean and results in professional-looking bars.
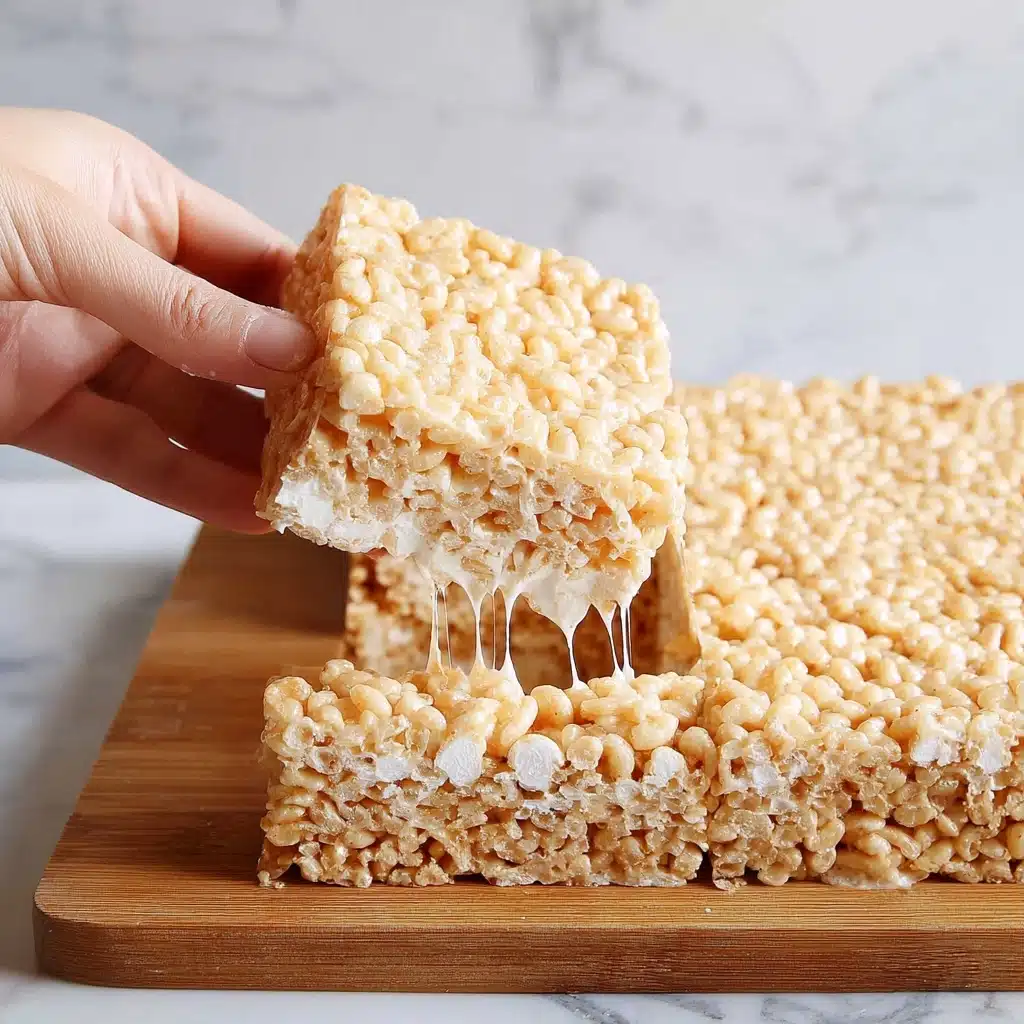
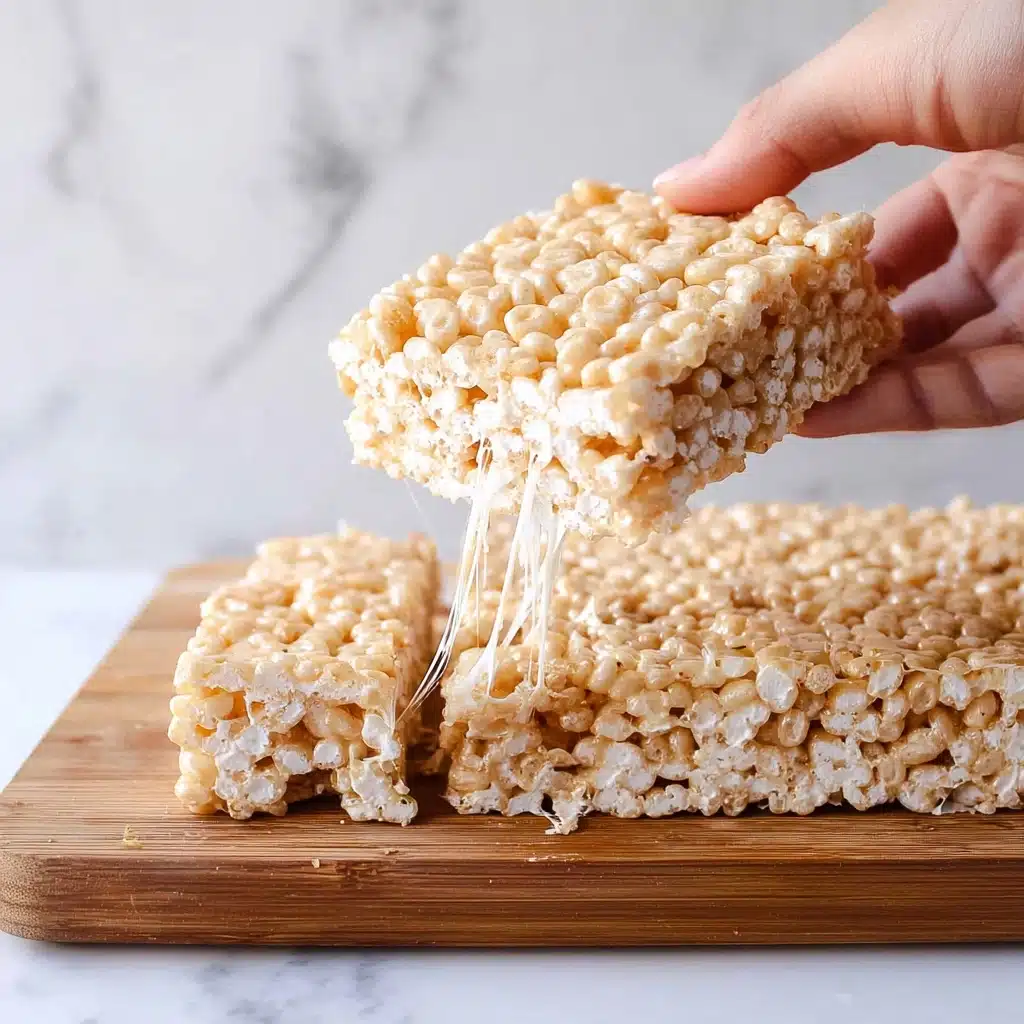
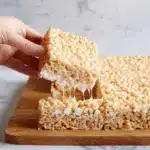
Step 7: Let Cool and Slice
Patience is key here since cooling allows the treats to firm up without becoming rock hard. Wait at least an hour before slicing. For giant, show-stopping treats, cut them into about 9 pieces—each one is a generous square of chewy, crispy heaven that’s perfect for sharing or savoring all to yourself.
How to Serve Bakery Style Giant Rice Krispie Treats
Garnishes
While these treats are incredible on their own, a sprinkle of colorful nonpareils or a drizzle of melted chocolate on top can amp up the fun and make them extra festive. Toasted coconut flakes or a light dusting of powdered sugar add an elegant touch that’s perfect for special occasions.
Side Dishes
Pair these sweet giants with a scoop of vanilla ice cream or a tall glass of cold milk to balance the richness and round out your snack or dessert experience. Fresh berries add a bright contrast to the buttery richness, making for a well-rounded treat plate that surprises and delights the taste buds.
Creative Ways to Present
Why not cut them into fun shapes with cookie cutters for themed parties or holidays? Stacking two or three together with a spread of Nutella or peanut butter between layers creates a towering, indulgent dessert. Wrapping individual treats in colorful parchment paper also makes charming and shareable gifts.
Make Ahead and Storage
Storing Leftovers
Once cooled completely, store your Bakery Style Giant Rice Krispie Treats in an airtight container at room temperature. They’ll stay fresh and chewy for up to 3 days, making them a convenient make-ahead snack or dessert for busy days or unexpected company.
Freezing
If you want to keep them longer, wrap individual portions tightly in plastic wrap and place them in a freezer-safe bag. Frozen Rice Krispie treats hold up well for up to 2 months. When ready to enjoy, just thaw at room temperature for about an hour before digging in.
Reheating
While these treats are usually best enjoyed as they are, you can warm them slightly in the microwave for 10-15 seconds to revive that gooey, melty marshmallow sensation—just be careful not to overheat or they might get too sticky to handle.
FAQs
Can I skip browning the butter?
Absolutely! Simply melting the butter works fine if you’re short on time, but browning it adds an extra depth of flavor that really elevates these treats to bakery quality.
Is condensed milk necessary?
Sweetened condensed milk adds a richness and chew that you won’t get with regular milk or cream, so it’s highly recommended for that perfect bakery-style texture.
Can I use regular-sized marshmallows instead of mini?
You can, but mini marshmallows melt more evenly and incorporate more smoothly. If you only have large marshmallows, consider chopping them into smaller pieces.
How do I prevent marshmallows from melting when added last?
Make sure the melted mixture has cooled slightly before folding in the remaining unmelted marshmallows, so they retain their shape and add texture contrast.
What’s the best way to cut giant Rice Krispie treats?
Use a sharp knife and press straight down without sawing. Cooling the treats well first ensures cleaner cuts and less crumbling.
Final Thoughts
There’s something truly special about making Bakery Style Giant Rice Krispie Treats from scratch—the buttery, toasted aroma fills your kitchen and the giant, chewy squares bring joy with every bite. Whether you’re treating yourself or sharing with loved ones, this recipe is a guaranteed crowd-pleaser that transforms a simple childhood favorite into a memorable, bakery-worthy delight. Go ahead and give it a try; once you taste these, they’re sure to become a beloved staple in your dessert repertoire.
PrintBakery Style Giant Rice Krispie Treats Recipe
These Bakery Style Giant Rice Krispie Treats combine the perfect balance of gooey melted marshmallows and crispy Rice Krispies cereal with the rich depth of browned butter and sweetened condensed milk. This recipe elevates the classic snack into a decadent dessert bar with a delightful chewy and crunchy texture, perfect for sharing or indulging in large, satisfying portions.
- Prep Time: 10 minutes
- Cook Time: 10 minutes
- Total Time: 1 hour 20 minutes
- Yield: 9 giant servings 1x
- Category: Dessert, Snack
- Method: Stovetop melting and mixing
- Cuisine: American
- Diet: Vegetarian
Ingredients
Wet Ingredients
- 12 tablespoons butter
- ¾ cup sweetened condensed milk
- 1 ½ teaspoon vanilla extract
Marshmallows
- 10 ounces mini marshmallows (for melting)
- 6 ounces mini marshmallows (unmelted)
Dry Ingredients
- 9 cups Rice Krispies cereal
Instructions
- Brown the Butter: Heat butter in a pan or Dutch oven over medium heat, stirring frequently until it reaches a dark gold or amber color and smells nutty. You may see little brown bits, which add flavor. This step is optional but enhances depth.
- Add Condensed Milk and Vanilla: Once butter is browned or melted, stir in the sweetened condensed milk and vanilla extract until fully combined. Reduce heat to medium-low to prevent burning.
- Melt Marshmallows: Add 10 ounces of mini marshmallows to the pot and stir constantly until the mixture is smooth, creamy, and fully melted.
- Incorporate Rice Krispies: Add the 9 cups of Rice Krispies cereal to the melted marshmallow mixture, stirring gently but thoroughly to coat all cereal pieces. If your pot is too small, transfer the melted mixture to a large bowl before adding cereal.
- Fold in Unmelted Marshmallows: Add the remaining 6 ounces of mini marshmallows carefully into the mixture, ensuring the mix isn’t too hot so they maintain their shape for added texture.
- Transfer to Baking Dish: Pour the mixture into a buttered 9×13 inch baking dish, then use a piece of parchment paper to gently press and smooth the surface evenly.
- Chill and Serve: Let the treats cool for at least one hour until set. Cut into 9 large servings for giant, bakery-style portions and enjoy!
Notes
- For an extra nutty flavor, don’t skip browning the butter, but you can melt it plainly if short on time.
- The unmelted marshmallows add delightful texture—ensure the mixture has cooled slightly before mixing them in.
- Use a buttered spatula or parchment paper to press the treats evenly without sticking.
- Store leftover treats in an airtight container at room temperature for up to 3 days to maintain freshness and chewiness.
- You can add mix-ins like chocolate chips or peanut butter chips to customize your treats.
Nutrition
- Serving Size: 1 giant bar (approx. 1/9th of recipe)
- Calories: 380
- Sugar: 27g
- Sodium: 130mg
- Fat: 16g
- Saturated Fat: 9g
- Unsaturated Fat: 6g
- Trans Fat: 0g
- Carbohydrates: 54g
- Fiber: 1g
- Protein: 3g
- Cholesterol: 40mg
Keywords: Rice Krispie treats, giant Rice Krispie bars, marshmallow treats, classic American dessert, browned butter Rice Krispies