Cheesy Pizza Pockets Recipe
Introduction
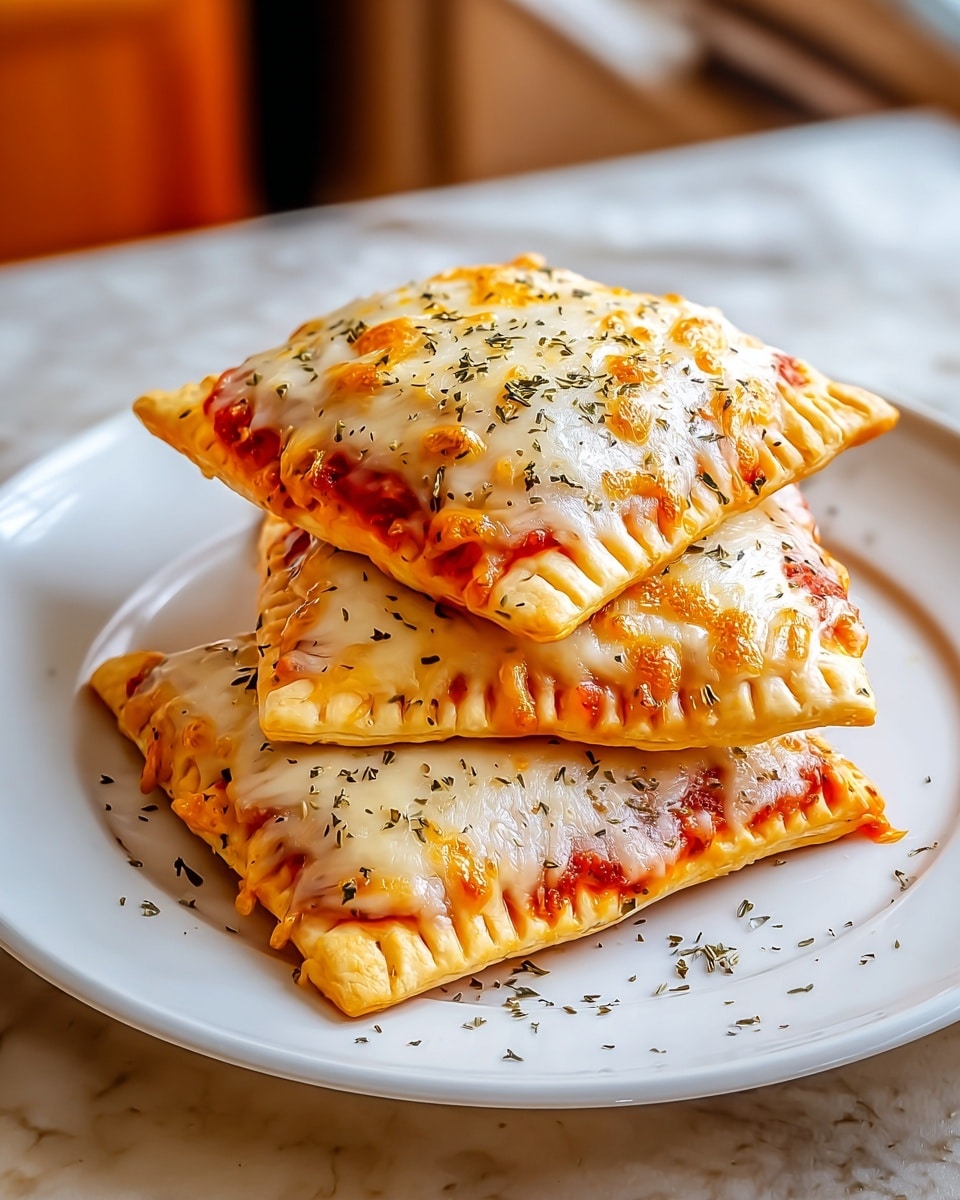
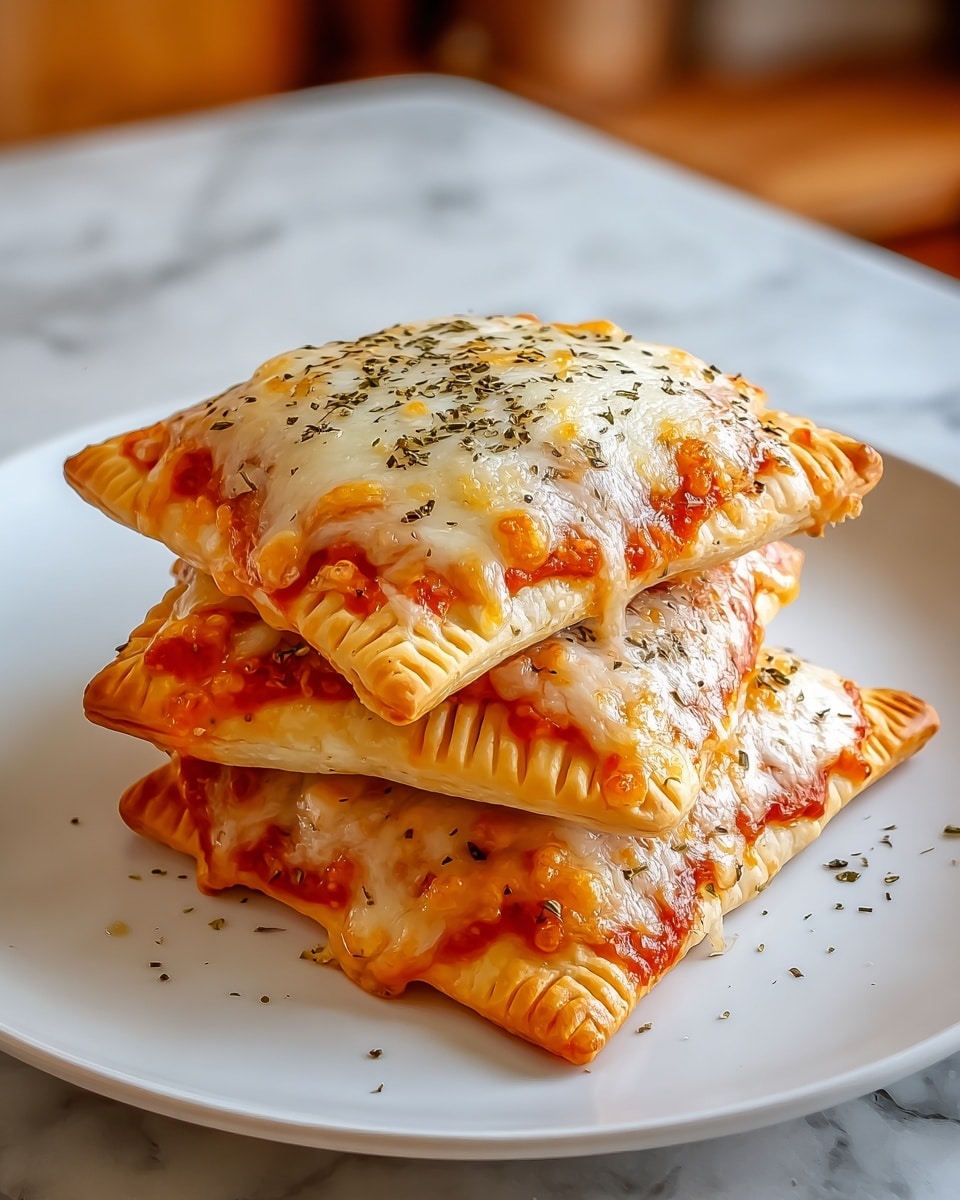
Cheesy pizza pockets are a fun and easy way to enjoy all the flavors of pizza in a handheld snack. Crispy on the outside and filled with gooey cheese and pepperoni, they make a perfect treat for kids and adults alike.
Ingredients
- 1 tube refrigerated pizza crust
- 6 tablespoons pasta or marinara sauce
- 1 cup shredded mozzarella cheese
- About 12 slices of pepperoni
- Dried oregano, for optional garnish
- Olive oil, for optional brushing
Instructions
- Step 1: Preheat your oven to 425°F (220°C). Line a baking sheet with parchment paper for easy cleanup.
- Step 2: Unroll the refrigerated pizza dough onto the parchment or a lightly floured surface. Using a knife or pizza cutter, slice the dough into 6 equal squares.
- Step 3: On one half of each dough square, spoon 1 tablespoon of pasta sauce. Sprinkle with shredded mozzarella, then top with 2 slices of pepperoni.
- Step 4: Fold each square diagonally into a triangle. Press the edges firmly with a fork to seal the filling inside.
- Step 5: For extra flavor and a golden crust, lightly brush the tops with olive oil and sprinkle with dried oregano and a little extra mozzarella (optional).
- Step 6: Bake for 10 to 13 minutes, or until the pizza pockets are puffed and golden brown, and the cheese inside is bubbling.
- Step 7: Let cool slightly before serving. Pair with warm pasta sauce or ranch dressing for dipping.
Tips & Variations
- Try swapping pepperoni for cooked sausage, mushrooms, or bell peppers for different flavors.
- Brush with garlic butter instead of olive oil for a richer crust.
- Use a mix of mozzarella and cheddar cheese for a sharper taste.
- Freeze unbaked pockets on a tray, then transfer to a bag. Bake directly from frozen, adding a few extra minutes to the baking time.
Storage
Store leftover pizza pockets in an airtight container in the refrigerator for up to 3 days. Reheat in a toaster oven or conventional oven at 350°F (175°C) for 5–7 minutes to retain crispness. Avoid microwaving to keep the crust from becoming soggy.
How to Serve
Serve this delicious recipe with your favorite sides.
FAQs
Can I use homemade pizza dough instead of refrigerated crust?
Yes, homemade pizza dough works great. Just roll it out to a similar thickness and cut into squares as instructed.
How can I make these vegetarian?
Simply omit the pepperoni and add your favorite veggies like spinach, mushrooms, or olives for a delicious vegetarian version.
PrintCheesy Pizza Pockets Recipe

Delicious and easy-to-make Cheesy Pizza Pockets featuring a crispy golden crust filled with gooey mozzarella cheese, savory pepperoni, and tangy marinara sauce. Perfect as a quick snack or appetizer that everyone will love.
- Prep Time: 10 minutes
- Cook Time: 12 minutes
- Total Time: 22 minutes
- Yield: 6 pizza pockets 1x
- Category: Snack
- Method: Baking
- Cuisine: Italian-American
Ingredients
Pizza Dough
- 1 tube refrigerated pizza crust
Filling
- 6 tablespoons pasta or marinara sauce
- 1 cup shredded mozzarella cheese
- About 12 slices of pepperoni
Optional Garnish
- Dried oregano, for garnish
- Olive oil, for brushing
Instructions
- Preheat the Oven: Preheat your oven to 425°F (220°C). Prepare a baking sheet by lining it with parchment paper for easy clean-up.
- Prepare the Dough: Unroll the refrigerated pizza dough onto the parchment paper or a lightly floured surface. Slice the dough into 6 equal squares using a knife or pizza cutter.
- Add the Filling: On one half of each dough square, spoon 1 tablespoon of pasta or marinara sauce, sprinkle shredded mozzarella cheese, and top with 2 slices of pepperoni.
- Seal the Pockets: Fold each square diagonally to form a triangle, then press the edges firmly with a fork to seal the filling inside completely.
- Optional Garnish: Lightly brush the tops of the pizza pockets with olive oil, then sprinkle dried oregano and a bit of extra mozzarella cheese on top for extra flavor and a golden crust.
- Bake: Place the pizza pockets on the prepared baking sheet and bake for 10 to 13 minutes, or until they are puffed, golden brown, and the cheese inside is bubbly and melted.
- Serve: Allow the pizza pockets to cool slightly before serving. Enjoy with warm pasta sauce or ranch dressing for dipping.
Notes
- You can substitute pepperoni with any other preferred pizza toppings such as cooked sausage, mushrooms, or bell peppers.
- For a crispier crust, you can brush with olive oil before baking and again right after baking.
- Ensure the edges are sealed tightly to prevent filling from leaking out during baking.
- Leftover pizza pockets can be refrigerated and reheated in the oven or air fryer to maintain crispiness.
Keywords: Cheesy Pizza Pockets, pizza pockets, pepperoni pockets, easy snack, oven-baked pizza pockets, homemade pizza pockets