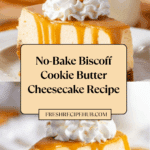
No-Bake Biscoff Cookie Butter Cheesecake Recipe
Introduction
This No-Bake Biscoff Cookie Butter Cheesecake is a creamy, dreamy dessert that’s effortless to make and packed with rich, spiced flavors. With a crunchy cookie crust and luscious filling, it’s perfect for impressing guests or treating yourself after a long day.
Ingredients
- 1½ cups Biscoff cookie crumbs
- 1/3 cup butter, melted
- More Biscoff cookies for the sides
- 4 (8-ounce) blocks cream cheese, softened to room temperature
- 4 tablespoons sugar
- 1½ cups Biscoff spread (cookie butter)
- 2 cups heavy cream
- 1/2 cup cookie butter
- More cookies for garnish
Instructions
- Step 1: Make the crust by placing the Biscoff cookies in a food processor and pulsing until they become fine crumbs. Melt the butter and stir it into the crumbs until everything is evenly coated and resembles damp sand.
- Step 2: Press the crumb mixture into the bottom of an 8-inch springform pan, using the back of a metal measuring spoon to pack it firmly and slightly up the sides for an even base.
- Step 3: Create a decorative border by standing extra Biscoff cookies upright around the inside edge of the pan.
- Step 4: In a mixing bowl, use an electric hand mixer to whip the cream cheese, sugar, and cookie butter together until smooth and creamy.
- Step 5: Pour in the heavy cream and continue mixing until the filling is light, fluffy, and fully combined, thick enough to hold its shape.
- Step 6: Spoon the filling over the crust and spread it evenly with a spatula.
- Step 7: Melt ½ cup of cookie butter in the microwave for 30–45 seconds until pourable, then drizzle it over the top and gently spread into an even layer.
- Step 8: Chill the cheesecake in the refrigerator for at least 6 hours, or freeze for 4 hours if short on time.
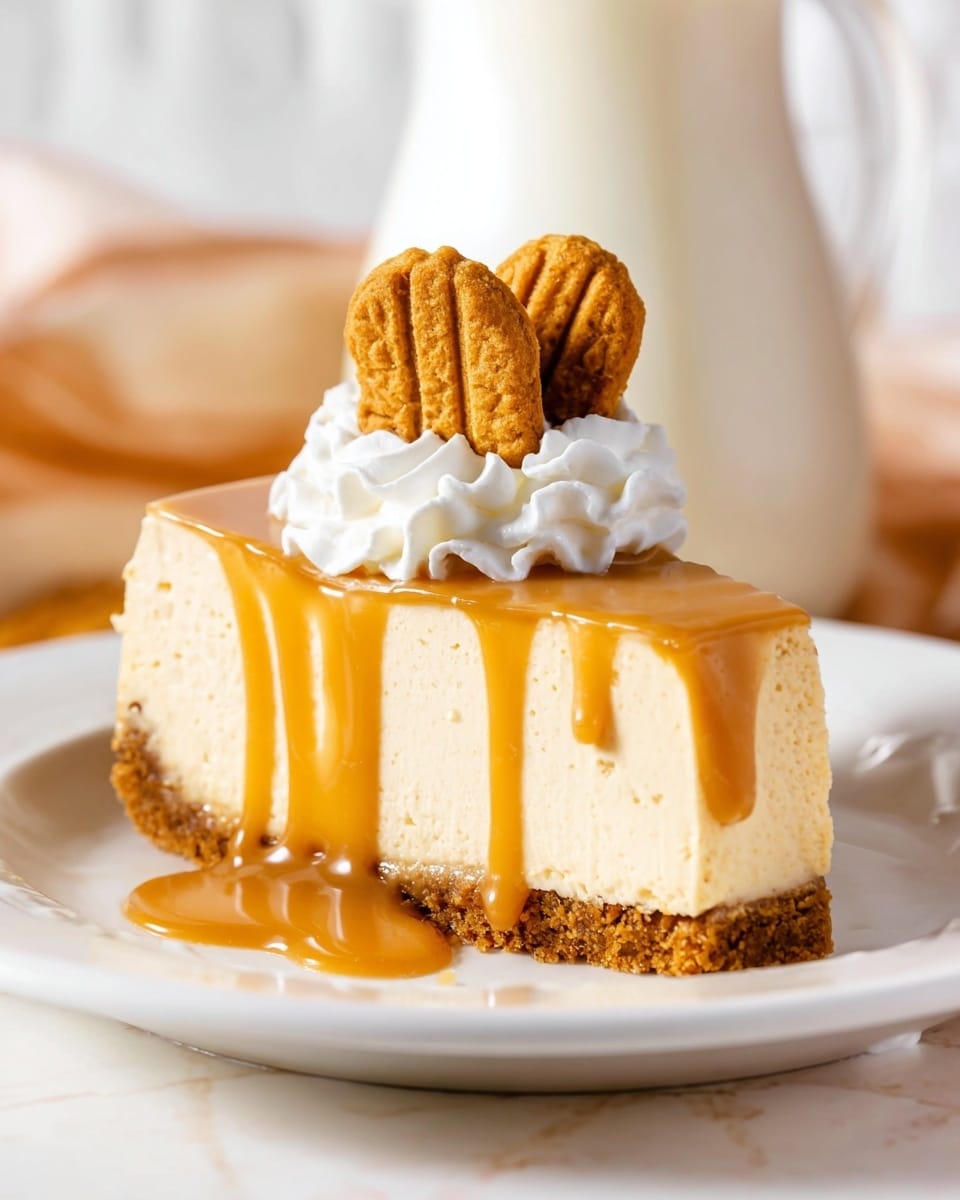
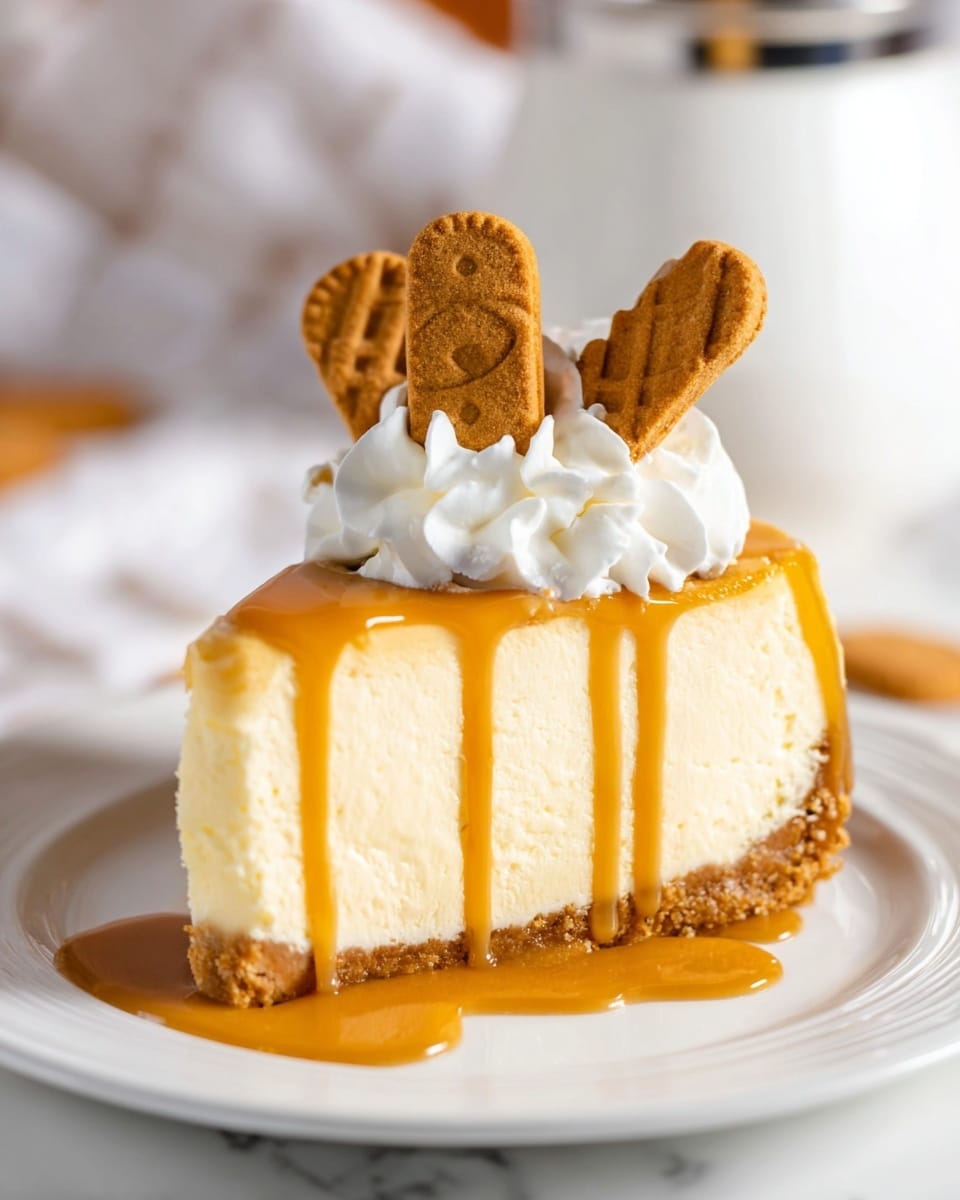
- Step 9: Once set, remove the cheesecake from the pan and slice. Optionally, garnish each slice with whipped cream, a cookie piece, and an extra drizzle of melted cookie butter.
Tips & Variations
- For a stronger cookie flavor, add a few extra tablespoons of Biscoff spread to the filling.
- Use a stand mixer or hand mixer to achieve the ideal fluffy texture in the filling.
- Try swapping Biscoff cookies for speculoos or ginger snaps for a different spice note.
- If you don’t have a springform pan, line a regular cake pan with parchment paper for easier removal.
Storage
Store the cheesecake covered in the refrigerator for up to 4 days. If frozen, keep it tightly wrapped or in an airtight container for up to 2 weeks. To serve after freezing, thaw in the refrigerator overnight. Avoid leaving it at room temperature for long to maintain the creamy texture.
How to Serve
Serve this delicious recipe with your favorite sides.
FAQs
Can I make this cheesecake ahead of time?
Yes, this no-bake cheesecake actually benefits from sitting overnight in the fridge to fully set and develop flavor. Just be sure to cover it to prevent it from absorbing other odors.
Is it possible to use a lower-fat option for the cream cheese or heavy cream?
While you can use lower-fat versions, keep in mind that the texture and creaminess might be affected. Full-fat cream cheese and heavy cream give the best rich and smooth results.
PrintNo-Bake Biscoff Cookie Butter Cheesecake Recipe

This No-Bake Biscoff Cookie Butter Cheesecake is a creamy, luscious dessert that combines the rich flavors of Biscoff cookies and smooth cheesecake without the need for baking. With a crunchy cookie crust, a fluffy cream cheese filling whipped with Biscoff spread, and a glossy cookie butter topping, this cheesecake is both elegant and effortlessly simple to prepare. Perfect for those craving a decadent treat that sets in the fridge or freezer, delivering maximum flavor with minimal fuss.
- Prep Time: 20 minutes
- Cook Time: 0 minutes
- Total Time: 6 hours 20 minutes
- Yield: 12 servings 1x
- Category: Dessert
- Method: No-Cook
- Cuisine: American
Ingredients
Crust
- 1½ cups Biscoff cookie crumbs
- 1/3 cup butter, melted
- Extra Biscoff cookies for the sides
Filling
- 4 (8-ounce) blocks cream cheese, softened to room temperature
- 4 tablespoons sugar
- 1½ cups Biscoff spread (cookie butter)
- 2 cups heavy cream
Topping
- ½ cup cookie butter
- Additional Biscoff cookies for garnish
Instructions
- Make the crust: Add the Biscoff cookies to a food processor and pulse until they become fine crumbs. Melt the butter and stir it into the crumbs until evenly coated and the mixture holds together like damp sand.
- Press into the pan: Pour the crumb mixture into an 8-inch springform pan. Use the back of a metal measuring spoon to press the crumbs firmly into the bottom and slightly up the sides for a neat, even base.
- Create the cookie border: Stand a few whole cookies upright around the inside edge of the pan to form a decorative cookie border, adding visual appeal with no baking required.
- Set aside and make the filling: In a mixing bowl, use an electric hand mixer to whip the cream cheese, sugar, and Biscoff spread together until smooth and creamy.
- Whip it up: Pour in the heavy cream and continue mixing until the filling is light, fluffy, and fully combined, thick enough to hold its shape but still creamy.
- Assemble the cheesecake: Spoon the filling evenly over the crust and spread it out with a spatula for a smooth surface.
- Add the topping: Melt ½ cup of cookie butter in the microwave for 30 to 45 seconds until pourable. Drizzle over the top and gently spread into an even layer.
- Chill to set: Place the cheesecake in the refrigerator for at least 6 hours or in the freezer for 4 hours to firm up the filling and topping.
- Slice and serve: Remove the cheesecake from the springform pan and slice into pieces. Top each slice with whipped cream, a cookie piece, and a drizzle of melted cookie butter for extra indulgence.
Notes
- Make sure the cream cheese is fully softened to avoid lumps in the filling.
- Press the crust firmly for a sturdy base that holds together when sliced.
- Use a sharp knife warmed in hot water for clean cheesecake slices.
- You can substitute regular cream for heavy cream, but the texture may be less stable.
- Store leftovers in an airtight container in the refrigerator for up to 3 days.
- Freezing may affect texture slightly; thaw in the fridge before serving.
Keywords: no-bake cheesecake, Biscoff cheesecake, cookie butter dessert, easy cheesecake, no bake dessert, creamy cheesecake