Red Velvet Thumbprint Cookies Recipe
Introduction
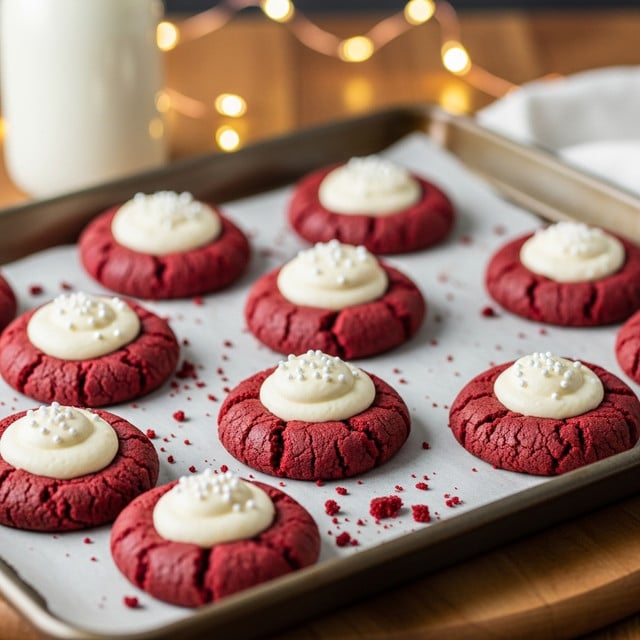
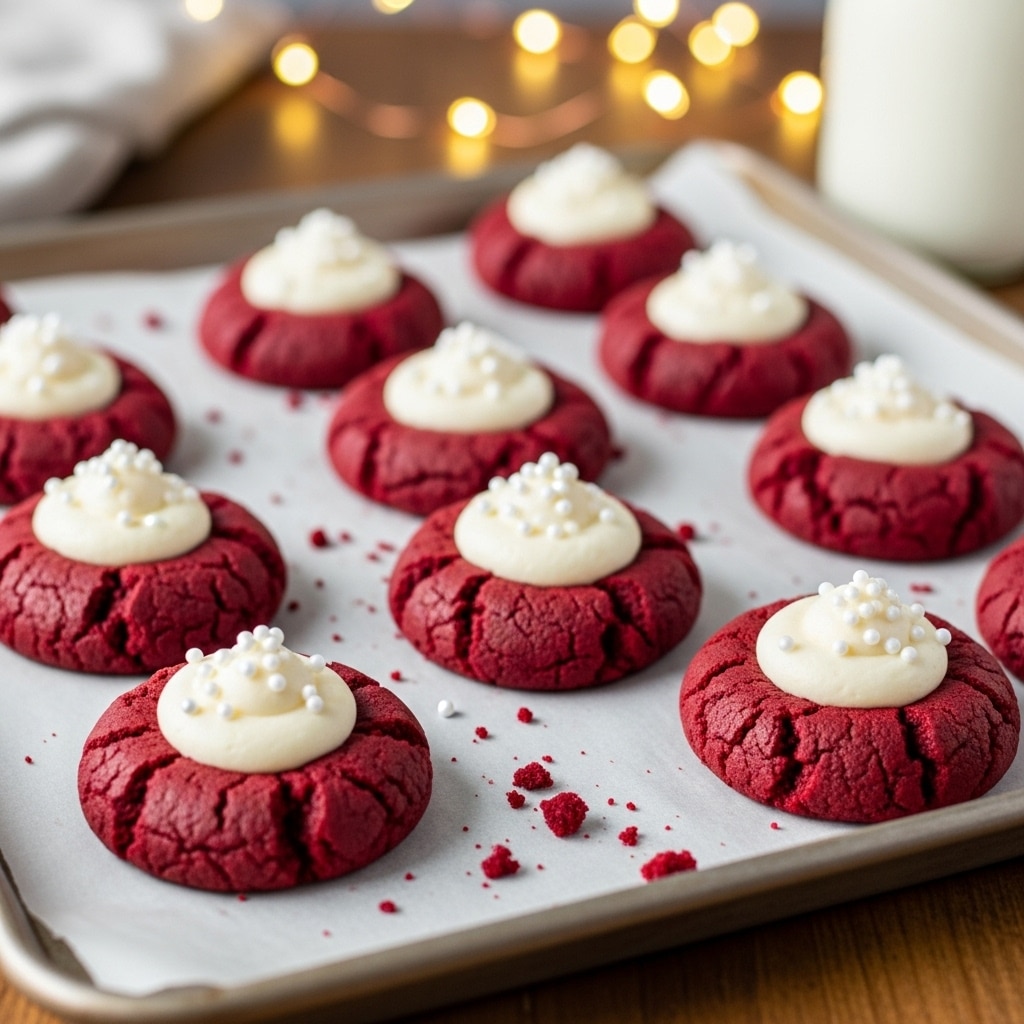
These Red Velvet Thumbprint Cookies combine the classic flavor of red velvet cake with a delightful white chocolate center. Soft, slightly cocoa-infused cookies with a sweet, creamy filling make for a perfect treat anytime.
Ingredients
- 1.5 cups all-purpose flour
- 2 tbsp cocoa powder
- 0.5 tsp baking soda
- 0.25 tsp salt
- 0.5 cup unsalted butter, softened
- 0.75 cup granulated sugar
- 1 large egg yolk
- 1 tsp vanilla extract
- 1.5 tsp red gel food coloring
- 0.5 tsp white vinegar
- 4 oz white chocolate, chopped
- 1 tsp heavy cream
Instructions
- Step 1: Preheat your oven to 350°F (175°C) and line baking sheets with parchment paper.
- Step 2: In a bowl, whisk together the flour, cocoa powder, baking soda, and salt until well combined.
- Step 3: In a separate large bowl, cream the softened butter and granulated sugar together until light and fluffy. Then add the egg yolk, vanilla extract, red gel food coloring, and white vinegar, mixing until smooth.
- Step 4: Gradually mix the dry ingredients into the wet mixture until a soft dough forms. Shape the dough into small balls and place them on the prepared baking sheets. Use your thumb or the back of a spoon to press an indentation into the center of each ball.
- Step 5: Bake the cookies for 9 to 10 minutes. Once baked, allow them to cool completely on a wire rack.
- Step 6: Melt the white chocolate with the heavy cream until smooth. Spoon or pipe the melted chocolate mixture into the thumbprint centers of the cooled cookies.
Tips & Variations
- Use gel food coloring for vibrant color without adding extra liquid to the dough.
- Try substituting the white chocolate filling with cream cheese frosting for a tangy twist.
- If you don’t have heavy cream, a splash of milk works well to melt the chocolate smoothly.
Storage
Store the cookies in an airtight container at room temperature for up to 3 days. If filled with white chocolate, keep them refrigerated and bring to room temperature before serving. They can also be frozen for up to 2 weeks; thaw in the fridge overnight.
How to Serve
Serve this delicious recipe with your favorite sides.
FAQs
Can I use regular liquid food coloring instead of gel?
You can, but gel food coloring is preferred as it provides more intense color without altering the dough’s consistency.
How do I prevent the thumbprint from closing during baking?
Press the thumbprint indentation firmly before baking and avoid overfilling the center with filling afterward to maintain the shape.
PrintRed Velvet Thumbprint Cookies Recipe

Delightfully rich and vibrant, these Red Velvet Thumbprint Cookies boast a tender cocoa-infused dough with a signature red hue. Each bite reveals a luscious white chocolate filling, creating the perfect balance of flavors and textures, making them a festive treat for any occasion.
- Prep Time: 15 minutes
- Cook Time: 10 minutes
- Total Time: 25 minutes
- Yield: 24 cookies 1x
- Category: Dessert
- Method: Baking
- Cuisine: American
Ingredients
Dry Ingredients
- 1.5 cups all-purpose flour
- 2 tbsp cocoa powder
- 0.5 tsp baking soda
- 0.25 tsp salt
Wet Ingredients
- 0.5 cup unsalted butter, softened
- 0.75 cup granulated sugar
- 1 large egg yolk
- 1 tsp vanilla extract
- 1.5 tsp red gel food coloring
- 0.5 tsp white vinegar
Filling
- 4 oz white chocolate, chopped
- 1 tsp heavy cream
Instructions
- Preheat Oven: Preheat your oven to 350°F (175°C) and prepare baking sheets by lining them with parchment paper to prevent sticking and ensure even baking.
- Combine Dry Ingredients: In a medium bowl, whisk together the all-purpose flour, cocoa powder, baking soda, and salt, ensuring they are well incorporated for a uniform dough texture.
- Cream Butter and Sugar: Using a mixer, beat the softened unsalted butter and granulated sugar together until the mixture is light and fluffy, which helps achieve a tender cookie.
- Add Wet Ingredients: Mix in the egg yolk, vanilla extract, red gel food coloring, and white vinegar to the creamed butter and sugar. Blend thoroughly to create a vibrant, smooth batter.
- Form Dough: Gradually add the dry ingredients to the wet mixture, stirring gently until a soft dough forms. Be careful not to overmix to maintain tenderness.
- Shape Cookies: Roll the dough into small balls, place them onto the lined baking sheets, then press your thumb firmly into the center of each ball to create an indent for the filling.
- Bake: Bake the cookies in the preheated oven for 9–10 minutes. Remove from oven and allow the cookies to cool completely on a wire rack so they firm up properly.
- Prepare Filling: While the cookies cool, gently melt the chopped white chocolate with the heavy cream, either in a double boiler or short bursts in the microwave, stirring until smooth.
- Fill Cookies: Spoon or pipe the melted white chocolate filling into the thumbprint indentations of each cookie. Allow the filling to set before serving.
Notes
- Use gel food coloring for a more intense and vibrant red color without affecting dough consistency.
- Be careful not to overbake the cookies; they should be soft and slightly chewy.
- Feel free to substitute white chocolate with cream cheese frosting for a tangier filling.
- Store cookies in an airtight container at room temperature for up to 5 days.
- For best results, chill the dough for 30 minutes before shaping to prevent spreading.
Keywords: red velvet cookies, thumbprint cookies, white chocolate filling, Valentine’s Day dessert, cocoa cookies