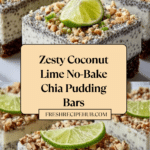
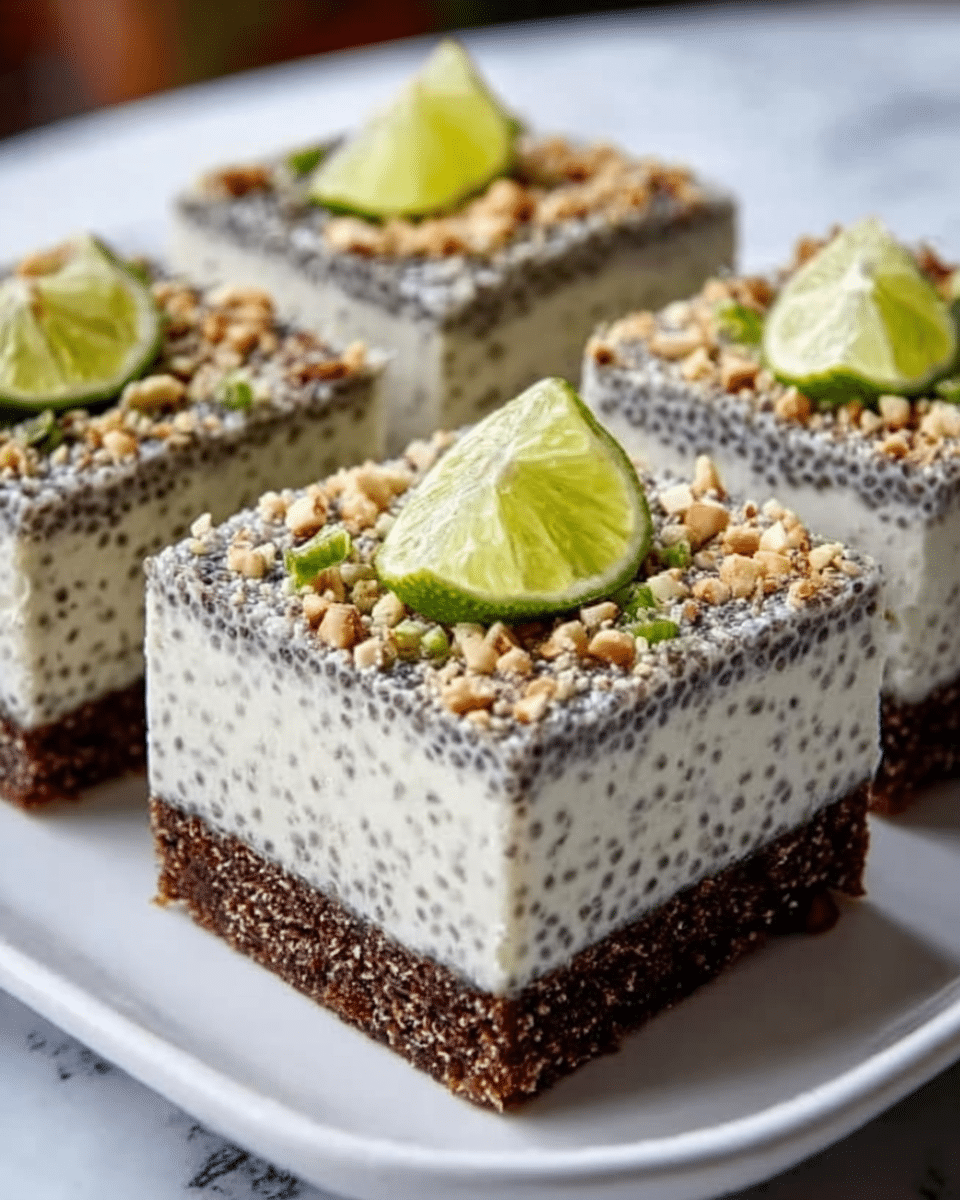
Refreshing No-Bake Chia Pudding Bars with Zesty Coconut Lime Flavor Recipe
Introduction
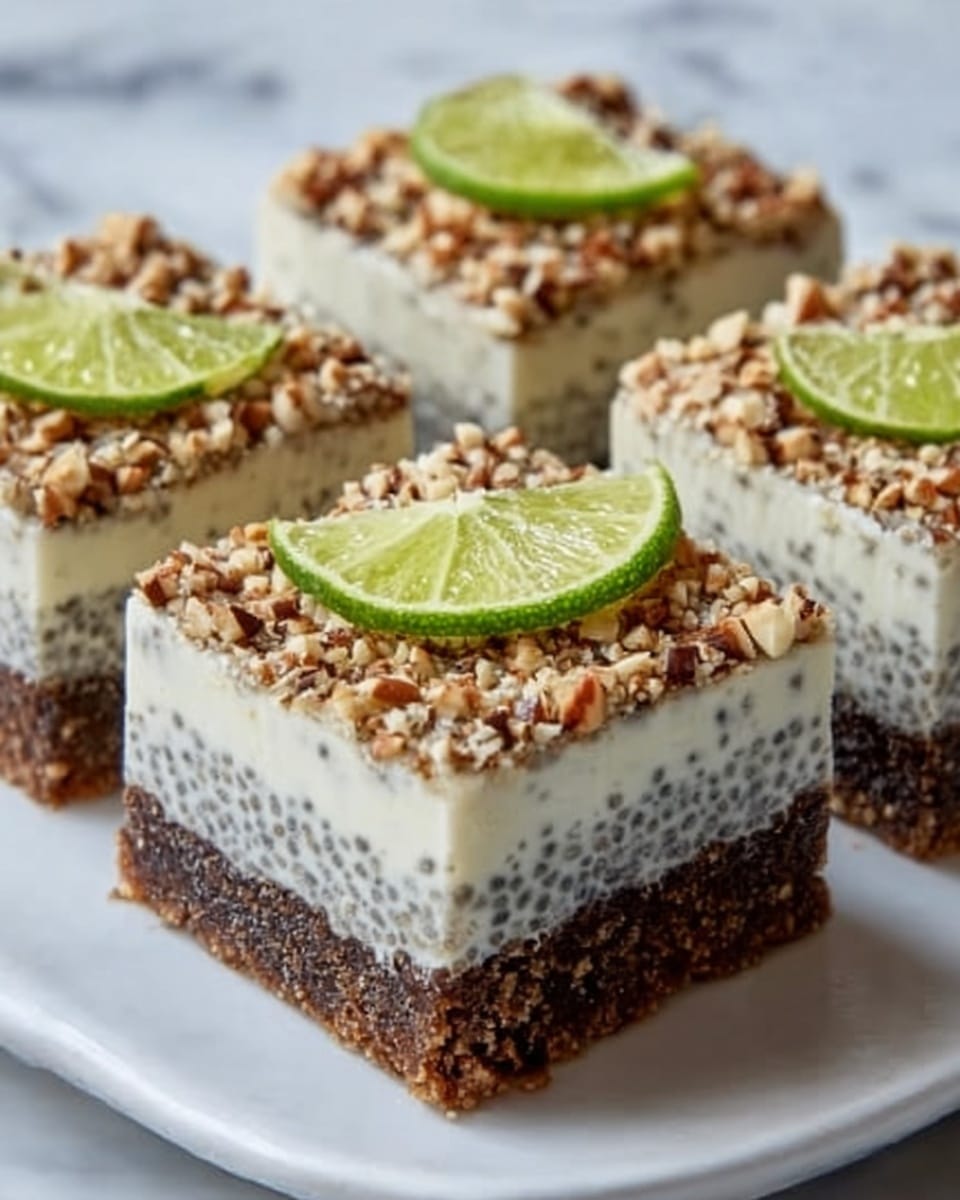
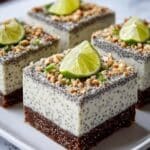
These no-bake chia pudding bars combine creamy coconut milk with zesty lime for a refreshing treat. Easy to make and perfect for a healthy snack or dessert, they offer a delightful balance of tangy and sweet flavors with a crunchy optional crust.
Ingredients
- 1 can (13.5 oz / 400ml) full-fat coconut milk
- 1/2 cup / 80g chia seeds
- 1/4 cup / 60ml maple syrup or agave nectar
- Zest of 1 large lime
- Juice of 1/2 large lime (about 2 tbsp / 30ml)
- 1 teaspoon / 5ml vanilla extract
- Pinch of salt
- 1 cup / 140g almonds or cashews (optional crust)
- 1/2 cup / 45g shredded unsweetened coconut (optional crust)
- 1/4 cup / 45g Medjool dates, pitted (optional crust)
- 1 tablespoon / 15ml melted coconut oil (optional crust)
- Pinch of salt (optional crust)
- Toasted coconut flakes (topping)
- Extra lime zest (topping)
Instructions
- Step 1: Prepare the optional crust by adding almonds or cashews, shredded coconut, pitted dates, melted coconut oil, and salt to a food processor. Process until the mixture clumps together and sticks when pressed. Press this firmly into the bottom of an 8×8 inch (20×20 cm) pan lined with parchment paper. Chill while preparing the filling.
- Step 2: In a medium bowl, whisk together the full-fat coconut milk, chia seeds, maple syrup or agave nectar, lime zest, lime juice, vanilla extract, and a pinch of salt. Whisk well to prevent clumps.
- Step 3: Let the mixture sit for 5-10 minutes, then whisk again thoroughly to break up any clumps and ensure the chia seeds are evenly distributed.
- Step 4: Pour the chia pudding mixture over the prepared crust, or directly into the parchment-lined pan if skipping the crust. Spread evenly.
- Step 5: Cover the pan and refrigerate for at least 4 hours, preferably overnight, until the chia pudding is firm and set.
- Step 6: Once set, lift the slab out using the parchment paper overhang. Sprinkle generously with toasted coconut flakes and extra lime zest.
- Step 7: Cut into squares or bars using a sharp knife.
- Step 8: Store leftovers covered in the refrigerator for up to 4-5 days.
Tips & Variations
- Use a food processor to ensure the crust mixture sticks well and presses firmly for a sturdy base.
- For extra zest, add lime zest to the crust mixture for a more pronounced citrus flavor.
- Swap almonds or cashews for pecans or walnuts for a different nutty flavor.
- Try topping with fresh berries for added texture and sweetness.
Storage
Store the bars covered in the refrigerator for up to 4-5 days. They are best enjoyed chilled and can be reheated slightly in the microwave if you prefer a softer texture, though they are traditionally served cold.
How to Serve
Serve this delicious recipe with your favorite sides.
FAQs
Can I make these bars without the crust?
Yes, the crust is optional. You can simply pour the chia pudding mixture directly into the pan for a crustless pudding bar.
How do I know when the chia pudding is fully set?
After refrigerating for at least 4 hours or overnight, the pudding should be firm and should hold its shape when lifted out of the pan.
PrintRefreshing No-Bake Chia Pudding Bars with Zesty Coconut Lime Flavor Recipe
These Refreshing No-Bake Chia Pudding Bars combine creamy coconut milk, zesty lime, and nutrient-rich chia seeds for a healthy, delicious treat. The optional almond or cashew crust adds a satisfying crunch, while toasted coconut flakes and lime zest provide a vibrant finish. Perfect as a guilt-free snack or dessert, these bars are simple to prepare without any baking required.
- Prep Time: 15 minutes
- Cook Time: 0 minutes
- Total Time: 4 hours 15 minutes
- Yield: 9–12 bars 1x
- Category: Dessert
- Method: No-Cook
- Cuisine: Fusion
- Diet: Vegan
Ingredients
Chia Pudding Filling
- 1 can (13.5 oz / 400ml) full-fat coconut milk
- 1/2 cup / 80g chia seeds
- 1/4 cup / 60ml maple syrup or agave nectar
- Zest of 1 large lime
- Juice of 1/2 large lime (about 2 tbsp / 30ml)
- 1 teaspoon / 5ml vanilla extract
- Pinch of salt
Optional Crust
- 1 cup / 140g almonds or cashews
- 1/2 cup / 45g shredded unsweetened coconut
- 1/4 cup / 45g Medjool dates, pitted
- 1 tablespoon / 15ml melted coconut oil
- Pinch of salt
Topping
- Toasted coconut flakes
- Extra lime zest
Instructions
- Prepare the Optional Crust: Add almonds or cashews, shredded coconut, pitted Medjool dates, melted coconut oil, and a pinch of salt to a food processor. Process until the mixture clumps together and sticks when pressed. Firmly press this crust mixture into the bottom of an 8×8 inch (20×20 cm) pan lined with parchment paper. Chill the crust while preparing the filling.
- Mix the Chia Pudding Filling: In a medium bowl, whisk together full-fat coconut milk, chia seeds, maple syrup or agave nectar, lime zest, lime juice, vanilla extract, and a pinch of salt. Whisk thoroughly to prevent any clumps from forming.
- Rest and Rewhisk: Let the chia pudding mixture sit for 5-10 minutes. Then whisk again thoroughly to break up any clumps and ensure the chia seeds are evenly distributed throughout the mixture.
- Assemble the Bars: Pour the chia pudding mixture over the chilled crust if using, or directly into the parchment-lined pan for crustless bars. Spread the mixture evenly across the surface.
- Chill to Set: Cover the pan and refrigerate for at least 4 hours or preferably overnight until the chia pudding is very firm and set.
- Add Toppings: Once set, lift the slab out using the parchment paper overhang. Sprinkle generously with toasted coconut flakes and extra lime zest for added flavor and texture.
- Cut and Serve: Using a sharp knife, cut the pudding slab into squares or bars of your desired size.
- Store Leftovers: Store any leftovers covered in the refrigerator for up to 4-5 days to maintain freshness.
Notes
- The optional crust adds texture but can be omitted for a simpler, crustless version.
- Use full-fat coconut milk for a creamier pudding; light coconut milk may make the pudding less rich.
- Maple syrup or agave nectar can be substituted with honey if not strictly vegan.
- Ensure thorough whisking and resting to prevent clumping of chia seeds for a smooth texture.
- Bars are best enjoyed cold and keep well refrigerated.
Keywords: chia pudding bars, no-bake dessert, coconut lime bars, vegan dessert, healthy snack, gluten free dessert, dairy free pudding